Battle Tanks Nederland

BTN is de club voor 1:16 en 1:15 RC BATTLE SYSTEM tankliefhebbers
Het is nu 19 apr 2024, 04:23

Alle tijden zijn GMT + 1 uur


Plaats een nieuw onderwerp Antwoord op onderwerp  [ 22 berichten ]  Ga naar pagina Vorige  1, 2
Auteur Bericht
BerichtGeplaatst: 14 jun 2014, 15:43 
Among many other things, it is also here a little bit further.

I had installed the 0.35 mm nozzle in my printer, but begins finding the right setting completely from scratch and you have to try much until it does. At least acceptable grid Struck doors succeed. for full body I have not yet found the right setting, but already produced a small box of insufficient test a hurry.

Afbeelding

After the dismantling of a 0.5 mm nozzle it worked much better for it right away, and even the first term would be almost useful.

Afbeelding

By the way, I bent my foot plates of etched parts deal.

Afbeelding

After sorting for the correct assembly I could see the steel sheet and solder together into two strips per page.

Afbeelding

Afbeelding

Now I can think about it as I best mount to the hull.


Omhoog
  
 
BerichtGeplaatst: 17 jun 2014, 15:47 
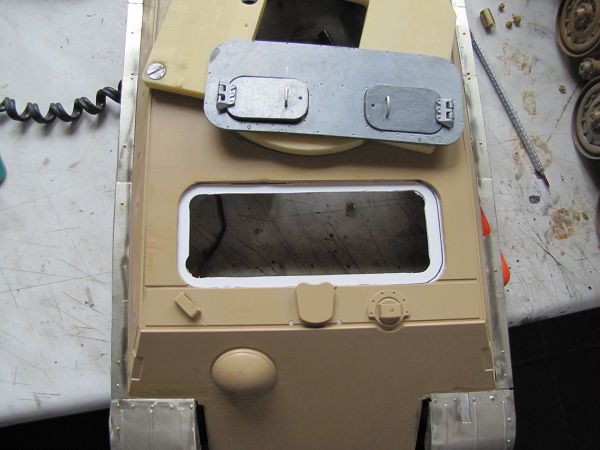
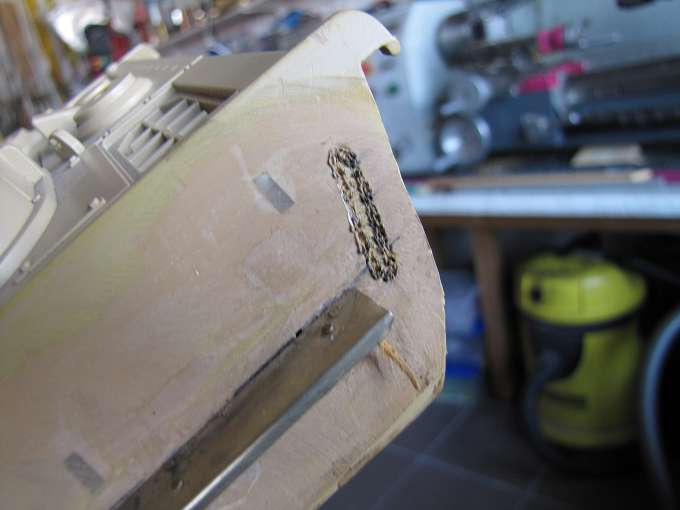
The foot plates I have now soldered to the extent done for both sides and was now able to stick to the tub it.

Afbeelding

Afbeelding

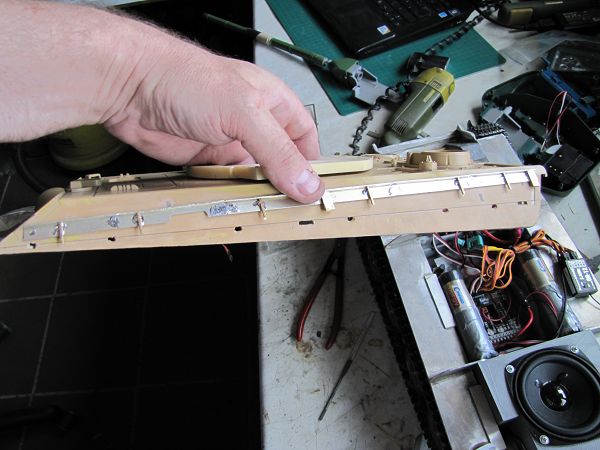
This looks the same with genuine tin quite different from the plastic parts.

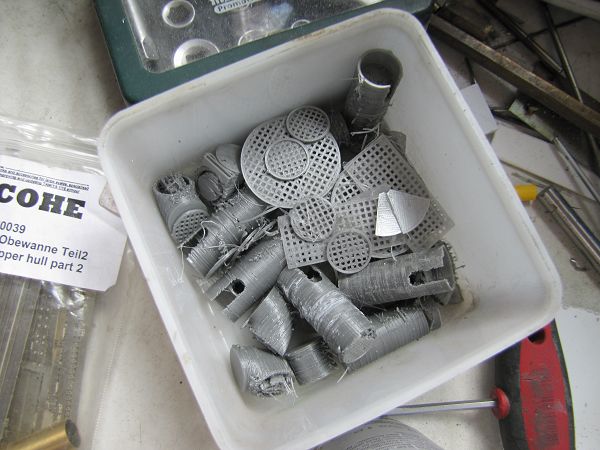
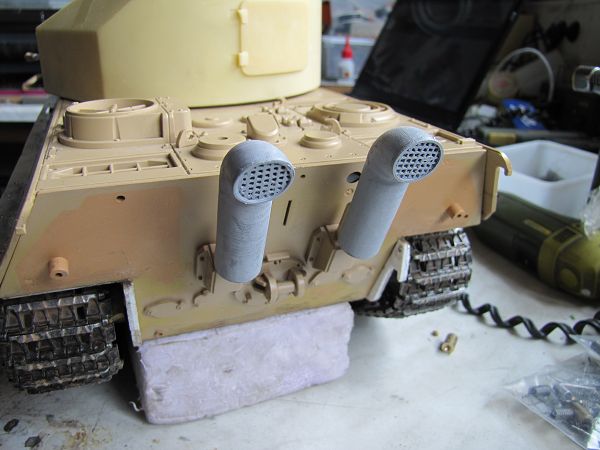
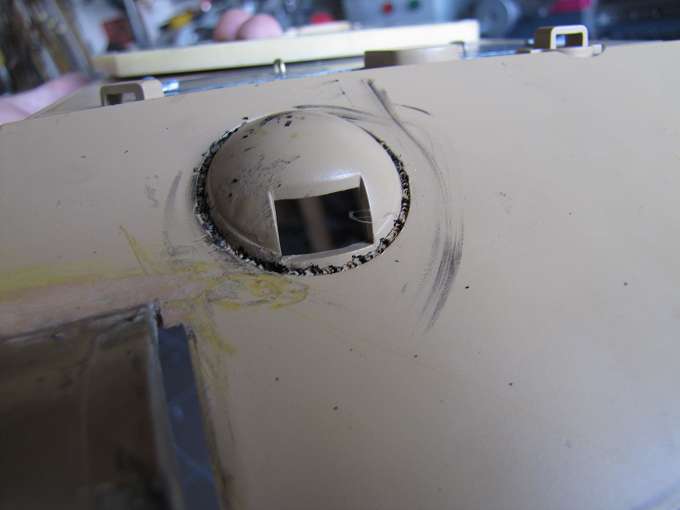
The Flammvernichter are me now succeeded in sufficient quality.

Afbeelding

Afbeelding

Afbeelding

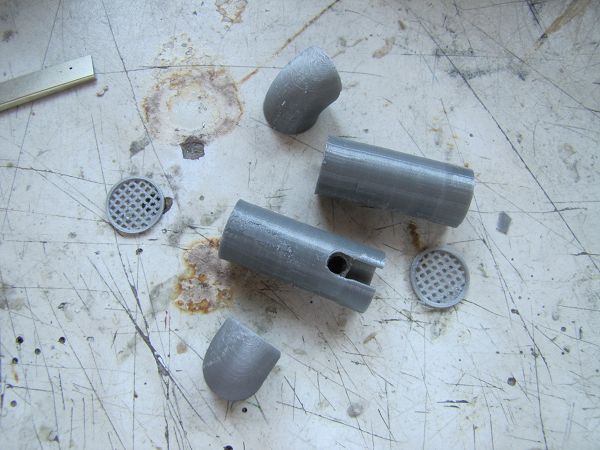
After sanding and priming one sees nothing more from the pressure, just as the exhaust pipes I make new again. The so not like me.

[img]http//up.picr.de/18643493dd.jpg[/img]
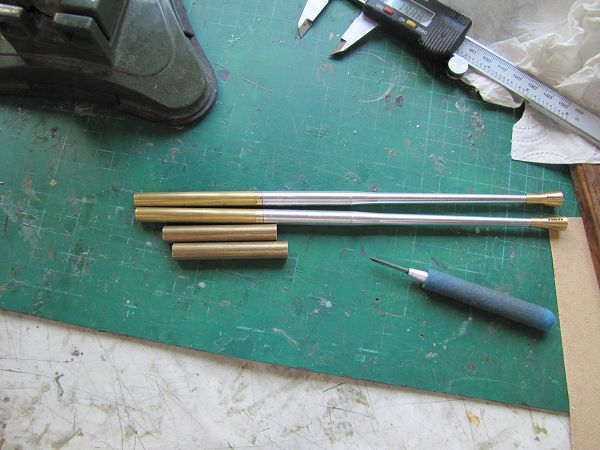
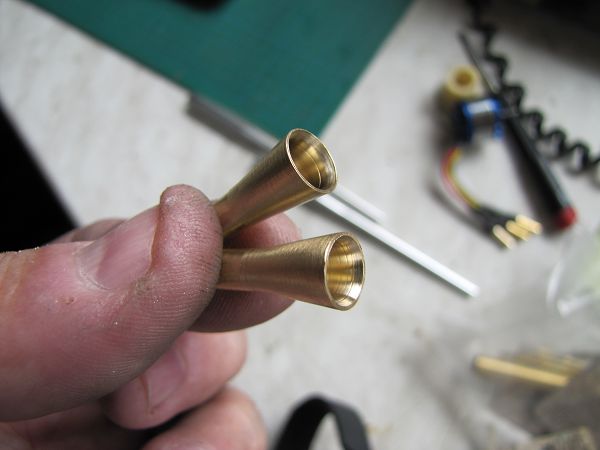
After I was again yesterday at Asiatam I have taken my Flack pipes and am pleasantly surprised that they are pierced in its entire length, which jan is not so simple. I had not expected.

Afbeelding

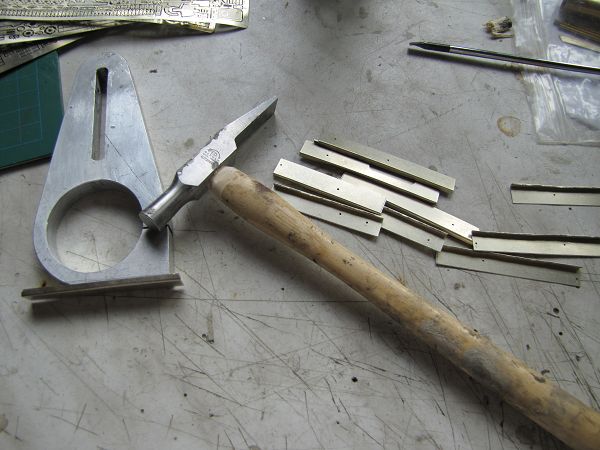
So I sat down today and by the way even turned the muzzle brakes to brass.

Afbeelding

Afbeelding

Afbeelding

Afbeelding

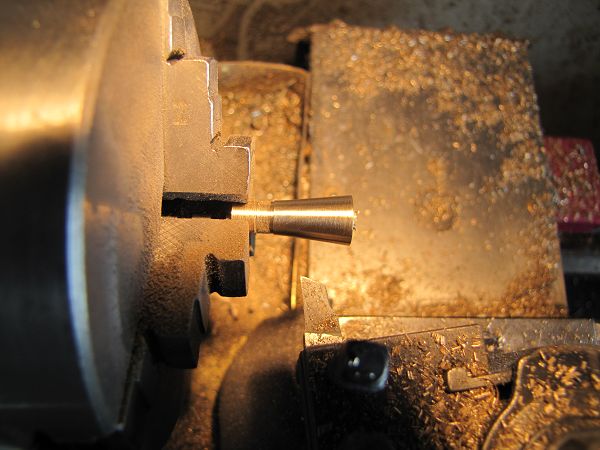
That was not easy to turn these little trumpets, and they still get 4 rows of holes in each side.

Afbeelding

And so I then glued to the tube ends.

Afbeelding


Omhoog
  
 
BerichtGeplaatst: 17 jun 2014, 20:01 
Nice build.


Omhoog
  
 
BerichtGeplaatst: 18 jun 2014, 22:33 
now I am finally now also here to make a little further.

After I glued the muzzle brakes with the pipes I had this a little with a 8mm brass tube extended by a good guide to get the recoil.

Afbeelding

This happens in each one 9mm brass tube.

Afbeelding

For installation of the guide tubes I drill carefully on the 9mm and stick a the two tubes.

Afbeelding

Afbeelding

Afbeelding

Afbeelding

For each tube to Build a Micro Servo on what I cropping as the back wall of the mount and servos einpasse on a plastic plate.

Afbeelding

Afbeelding

Afbeelding

Afbeelding

Afbeelding

The articulation of each tube is now quite simple.

Afbeelding


Omhoog
  
 
BerichtGeplaatst: 20 jun 2014, 19:15 
With a few little things I have done further.

Since my exhaust pipes I have not liked made ​​me new. In addition I have cut off a brass tube at a 45 ° angle and soldered with a lot of tin and smoothed.

Afbeelding

So the Flammvernichter are now correct.

Afbeelding

Afbeelding

Since I was only in Asiatam, I have taken the front hatches and built into the Panther. In addition I have cut out the opening, filed and glued from below a plastic frame. So then I could stick the plate on this framework and have such a closed gap.

Afbeelding

Afbeelding

I must still refine a little, but as I now have two stable and functional hatches.


Omhoog
  
 
BerichtGeplaatst: 28 jul 2014, 15:26 
I'm once again a little bit on my Coelian on.

First, I took care of the exhaust the ever so wobbled while driving. So I've drawn and printed the upper brackets, which is all the prophecies of doom perfectly applicable in defiance even in this scale. Now he keeps good and tight.

Afbeelding

Afbeelding

Afbeelding

Da da worked so well I'm thinking on making even more so.

Then I have now started with the welds and this literally knitted with the hot needle.

Afbeelding

Afbeelding

Afbeelding

How and where do I get this on the tower and the lower hull do I must still consider and even so I'm going to also look at some pictures to it.


Omhoog
  
 
BerichtGeplaatst: 06 sep 2014, 16:31 
Since I usually come to nothing I could at least try a little further in 3D printing and me the debris guard and the battle space heating cover print.

Afbeelding

Afbeelding

What you can not see properly on the pictures is that I was able to print the grid in three dimensions and not just smooth sheets as there are those as-etched parts.

I am still not completely satisfied ..... there is one more thing ....


Omhoog
  
 
Geef de vorige berichten weer:  Sorteer op  
Plaats een nieuw onderwerp Antwoord op onderwerp  [ 22 berichten ]  Ga naar pagina Vorige  1, 2

Alle tijden zijn GMT + 1 uur


Wie is er online

Gebruikers op dit forum: Geen geregistreerde gebruikers en 3 gasten


Je mag geen nieuwe onderwerpen in dit forum plaatsen
Je mag niet antwoorden op een onderwerp in dit forum
Je mag je berichten in dit forum niet wijzigen
Je mag je berichten niet uit dit forum verwijderen

Ga naar:  
cron
Powered by phpBB® Forum Software © phpBB Group
phpBB.nl Vertaling