Battle Tanks Nederland

BTN is de club voor 1:16 en 1:15 RC BATTLE SYSTEM tankliefhebbers
Het is nu 18 apr 2024, 19:19

Alle tijden zijn GMT + 1 uur


Plaats een nieuw onderwerp Antwoord op onderwerp  [ 39 berichten ]  Ga naar pagina Vorige  1, 2, 3
Auteur Bericht
BerichtGeplaatst: 06 feb 2014, 19:49 
Today I had again the time something to do here.

If I need now form a new centrifugal casting I can drain quickly with the Resin negative now.

Afbeelding

In the right form now still missing, the vent holes. The I install with a 1mm drill at all relevant points.

Afbeelding

Allow the air to escape during the casting and also the holes are not sealed by the pressure plate I milled with a cutting disc just still air channels through the holes.

Afbeelding

Afbeelding

Now I can soon try out the new form.


Omhoog
  
 
BerichtGeplaatst: 11 feb 2014, 13:24 
Today I finally tried my hand in rotational molding again .

First powdered forms .

Afbeelding

Here you can see the difference as beautiful as the powder adhered to the silicone.

Afbeelding

Place the brass tubes for the pin bearing into the mold.

Afbeelding

And close the mold and screw it into the skid pan .

Afbeelding

After I had melted enough zinc , I could pour it into the opening.

Afbeelding

The first pour but has become anything yet. The speed was too high and not pressed the mold enough to each other. As a part of the zinc is ejected from the From and only two of the six members are useful . I think the temperature of the zinc was too hot .

Afbeelding

Afbeelding

Afbeelding

So the same again and this . Sometimes with less temperature and lower speed This was but now back to low. The casting looks good, but the form is not completed and the parts so flawed .

Afbeelding

That will probably still be some work until it works to my satisfaction.


Omhoog
  
 
BerichtGeplaatst: 12 feb 2014, 16:44 
After a few small changes it went today. I do but only piece by piece and so I first have installed a few vents .

Afbeelding

Afbeelding

Afbeelding

It has gotten better , but I see the need again to make a new form and I also do not know if I need a slightly harder silicone for this, as some slightly bent chain links come from the mold. On the second cast I had way too little material which is why two of the forms were not filled sufficiently . What I do not like is the surface of the chain. That was much better from the single form.

So now I have at least some members whose quality is just sufficient for use according to my understanding . Therefore, I have now started with the assembly of which is still a lot of work .

First, disconnect the small brass tubes with a band saw , as far as you can reach it .

Afbeelding

The pipe pieces that you can not cut so I have to cut out with a small blade.

Afbeelding

Then I can edit the links with a small belt sander .

Afbeelding

When connecting bolts I use 2mm spring steel. It is so stable that 150kg train at enem piece of chain had led to no deformation or tearing .

Afbeelding

And here , the combined length of chain . The slightly shorter is still the tensile test , but it can recognize the much better surface. The temperature of the mold makes the way, since no difference.
In the foreground is a small piece of 1/16 chain as a comparison.

Afbeelding


Omhoog
  
 
BerichtGeplaatst: 13 feb 2014, 20:45 
By the way I bring it to me, too just 3D CAD with and just created a caster in 3D for it to be able to create master.

It's times as one half of a roller in 1/6

Afbeelding


Omhoog
  
 
BerichtGeplaatst: 15 feb 2014, 16:37 
I am still on the accumulation of experience , but as a little I get on.

Having trouble by default and surface in rotational molding I have by the shape and size of the chain links , but I learned a lot again, I 'm working around a bit on my last microframe form. Since I will build such a form anyway also my past experience again, I can I still edit these a little and see what happens and lo and behold ....

With the reworked form I was able to immediately resolve 90 % of the remaining problems. Delay and poor surface I had not at this silicone anyway. Just filling out the form I had not yet under control.

Now only two places that I also already have almost the handle is missing .

Afbeelding

Afbeelding

Afbeelding

I'll be there now try around a little and then build a new form of the current experience .


Omhoog
  
 
BerichtGeplaatst: 17 feb 2014, 19:55 
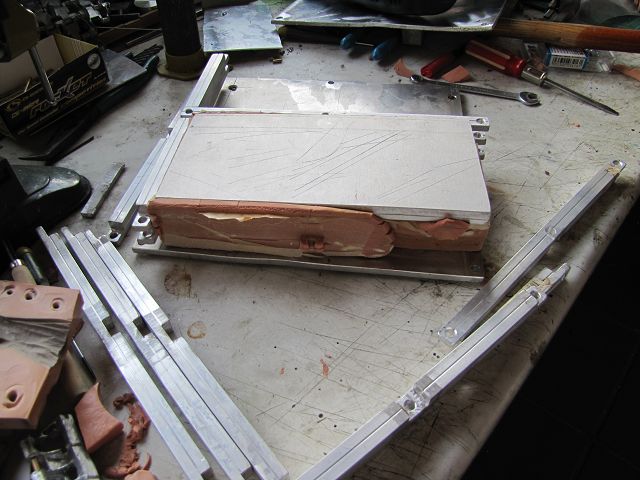
Before I can build a new form with which I can implement my previous experience I will create a larger and more flexible molded frame.

This I 'm from 11.5 mm Alunminium
rods which I abfräse at the ends and in the middle , and thrust . So I can put together any bars like a log cabin .
Because the whole is built of nothing but remnants , it does not look professional, but serves its purpose. So I can now shapes in different sizes presses. The framework I have made ​​it so big that it still fits well in my small oven.

Afbeelding

After the frame is ready , I can the new form, which is slightly larger than my old frame zulies .
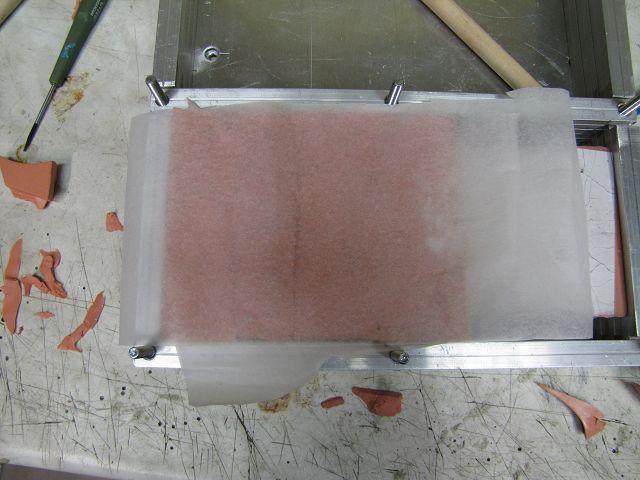
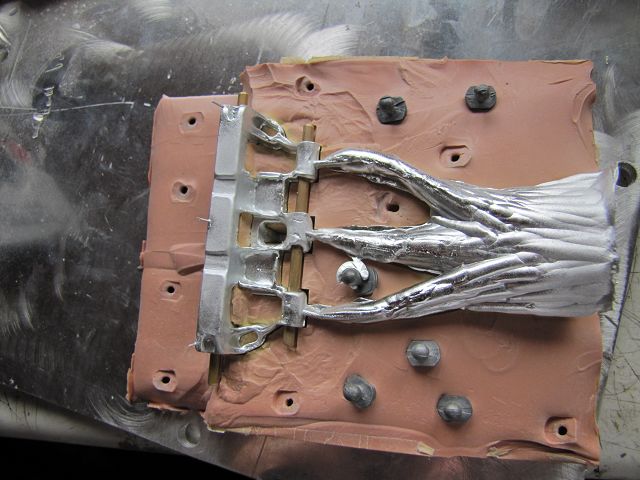
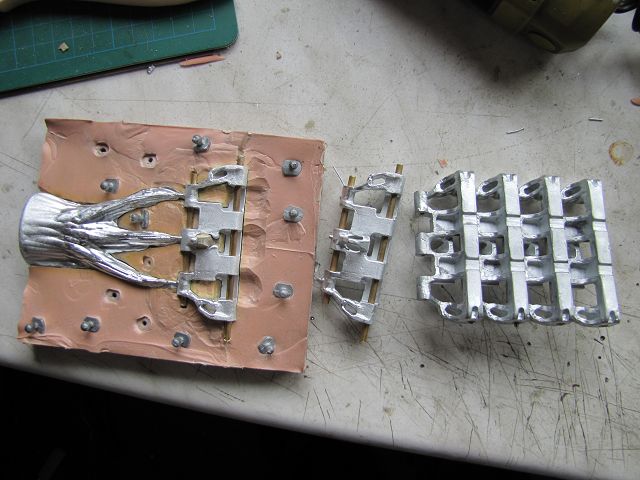
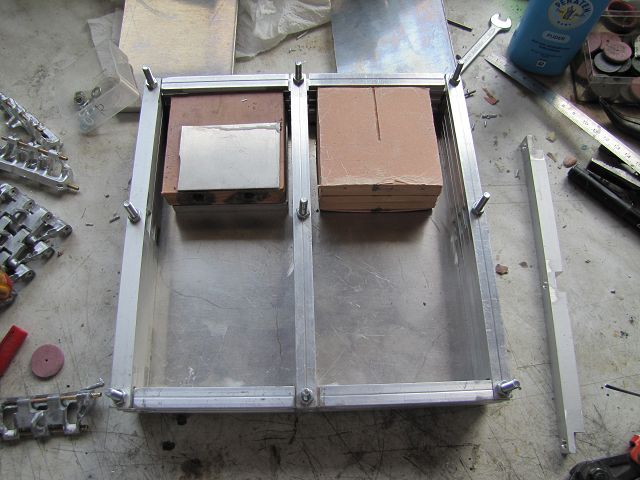
Thus, the silicone not verklezt with the frame I Dress him first with baking paper . Since I do not need the whole form I use old silicone molds as filling klotz

Afbeelding

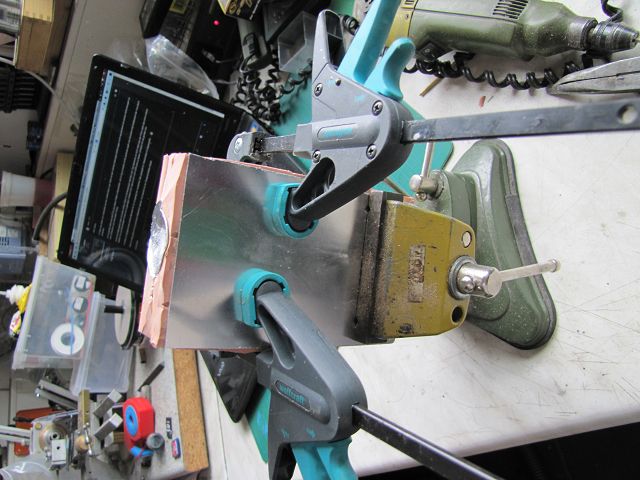
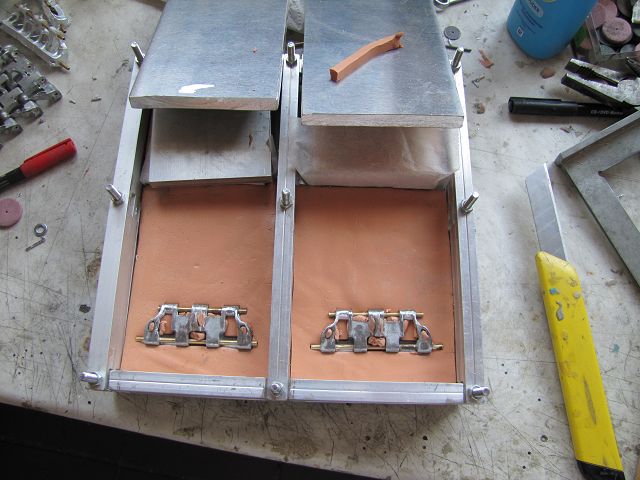
So , I offer two silicon plates and press the Master in the silicone.

Afbeelding

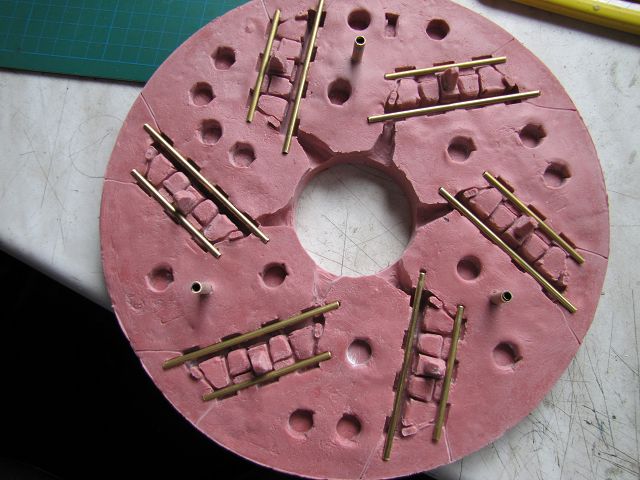
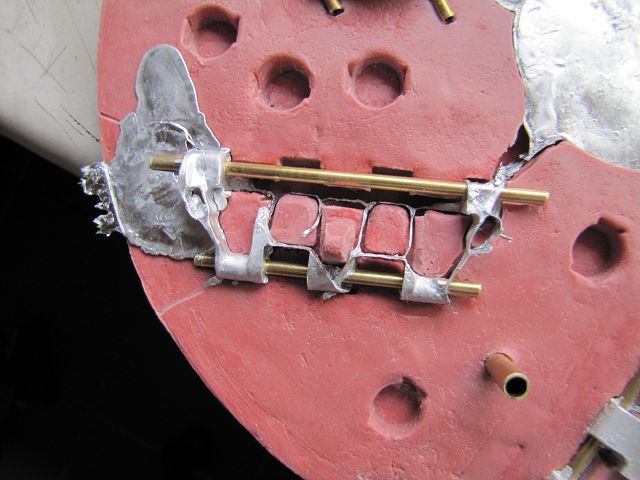
As Trennmttel I dove all a with talc and as a connector I use self- cast knobs .

[ mg] ttp://up.picr.de/17396627av.jpg[/img]

So I can then rebuild the shape of three parts in one whole ..

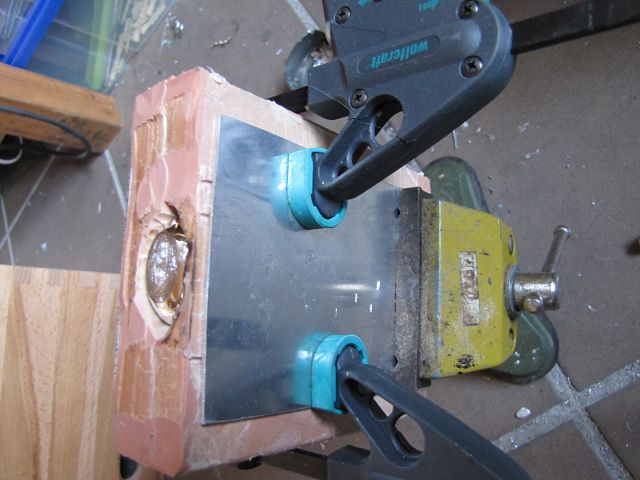
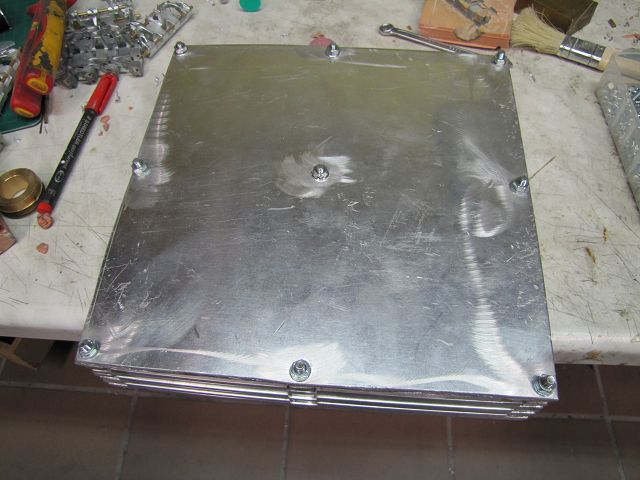
After all silicone is processed I 'm still a chunk of aluminum to press it and screw the cover plate of the mold .
This I will still be a few minutes and put the screws again somewhat, because the silicone deforms as a viscous mass .

Afbeelding

Afbeelding

I put the oven on the terrace , because the smell in enclosed spaces is not exactly edifying , and make the form now by 1.5 hours.

Afbeelding

Then I just have to cut the sprues and can use the form immediately.


Omhoog
  
 
BerichtGeplaatst: 18 feb 2014, 16:56 
After the mold was allowed to cool overnight, unpacking was first time announced.

Afbeelding

After I had the shape plastered around something . It has pushed the silicone into each hole . I had to separate the mold , which is not easy. But if you have found the beginning , it is no longer a problem .

Afbeelding

The next step was to cut the sprues with a carving knife into the silicone. This works simply because it is quite stable and stiff.

Afbeelding

After I had installed a couple of vent holes and the shape well dusted with talc , it went to the first casting.

Afbeelding

Afbeelding

But a little rework was required.
But now I have the alues ​​form come from the useful links and that I can use .

Afbeelding

The rework is almost consuming than the preparation and casting itself so you have to grind a lot , including the little hand belt sander proven once again very good.

Afbeelding

After cutting out the Messingröchen I could start the first chain links with a 2mm spring steel bolts to connect.

Afbeelding

Afbeelding

What I notice when casting to my surprise is that the cold mold works best. If this is too warm arise all of a sudden again cavities and the cast is not usable.

Now I 'm going to make these chain links two new master and from two new forms that will be even better. So then the production of the chains begin for the prototypes.


Omhoog
  
 
BerichtGeplaatst: 01 maart 2014, 18:12 
Thus , very slowly , there is next to a lot of other work here too progress .

Now I have the same time my new press frame fully utilized and created two forms in it.

Afbeelding

Afbeelding

Afbeelding

Afbeelding

And so I now have three forms for casting the tracks , which is still significantly speed things up .

Afbeelding

So I started with the drive wheel . For this I must first find the perfect teeth and that I make from my experiences with pattern discs . The first I took over after a dimension of an original drawing and milled aluminum disc as such . On the side is for size comparison , the drive wheel of a tiger in 1 / 16th

Afbeelding

And immediately encounter each theory and practice. An error of only 0.3 mm per tooth in the width and the toothing does not fit , although located in the Tolerance of the drawing.

Afbeelding

I know however, to what extent I can not rely on these drawings and for what tracks ( 360mmm , or 400mm width) was thought the ring gear . There was quite small differences .
But as there is no great effort to mill a new disk and try until it fits snugly and can be applied to the Master of the drive wheel .


Omhoog
  
 
BerichtGeplaatst: 02 maart 2014, 14:46 
Slightly revised to correct the pitch and the intervention in the chain.

Afbeelding

So I can now begin the drive to draw in 3D.


Omhoog
  
 
Geef de vorige berichten weer:  Sorteer op  
Plaats een nieuw onderwerp Antwoord op onderwerp  [ 39 berichten ]  Ga naar pagina Vorige  1, 2, 3

Alle tijden zijn GMT + 1 uur


Wie is er online

Gebruikers op dit forum: Geen geregistreerde gebruikers en 1 gast


Je mag geen nieuwe onderwerpen in dit forum plaatsen
Je mag niet antwoorden op een onderwerp in dit forum
Je mag je berichten in dit forum niet wijzigen
Je mag je berichten niet uit dit forum verwijderen

Ga naar:  
Powered by phpBB® Forum Software © phpBB Group
phpBB.nl Vertaling